
Free to use tools for maintaining your OpenSource projects

In this post, we will talk about how to effectively maintain your OpenSource projects using tools/softwares which are free to use for OpenSource and the public repositories. Over time, when the project grows you, need to set up a few tools which can help you maintain the project and automate the trivial tasks.

1. Setup CI/CD

Having an OpenSource project to which you might be contributing just as a hobby, but doesn’t mean you don’t need to set up CI/CD pipeline. You don’t need to expend a single dime on servers or need to use cloud services to run your CI/CD. There are a lot of CI/CD tools available free for open source projects and public repositories. One such tool is Travis CI which you can use for setting up CI/CD for your project.

Image for post
Travis CI

You can run test cases and deploy code to your servers. Travis CI works great and easy to set up the CI/CD pipeline.

2. Code Analysis and Code Quality

Maintaining code quality as the project grows can be very hard and time-consuming. Thankfully there are several tools that can help you in automating the continuous analysis for the code.

Scrutinizer is a great tool that you can use to automate the code quality and code analysis for your project. Scrutinizer is free for OpenSource projects and public repositories. 

Image for post
Scrutinizer

similar tools Codefactor.

3. Code Styling and Indentation

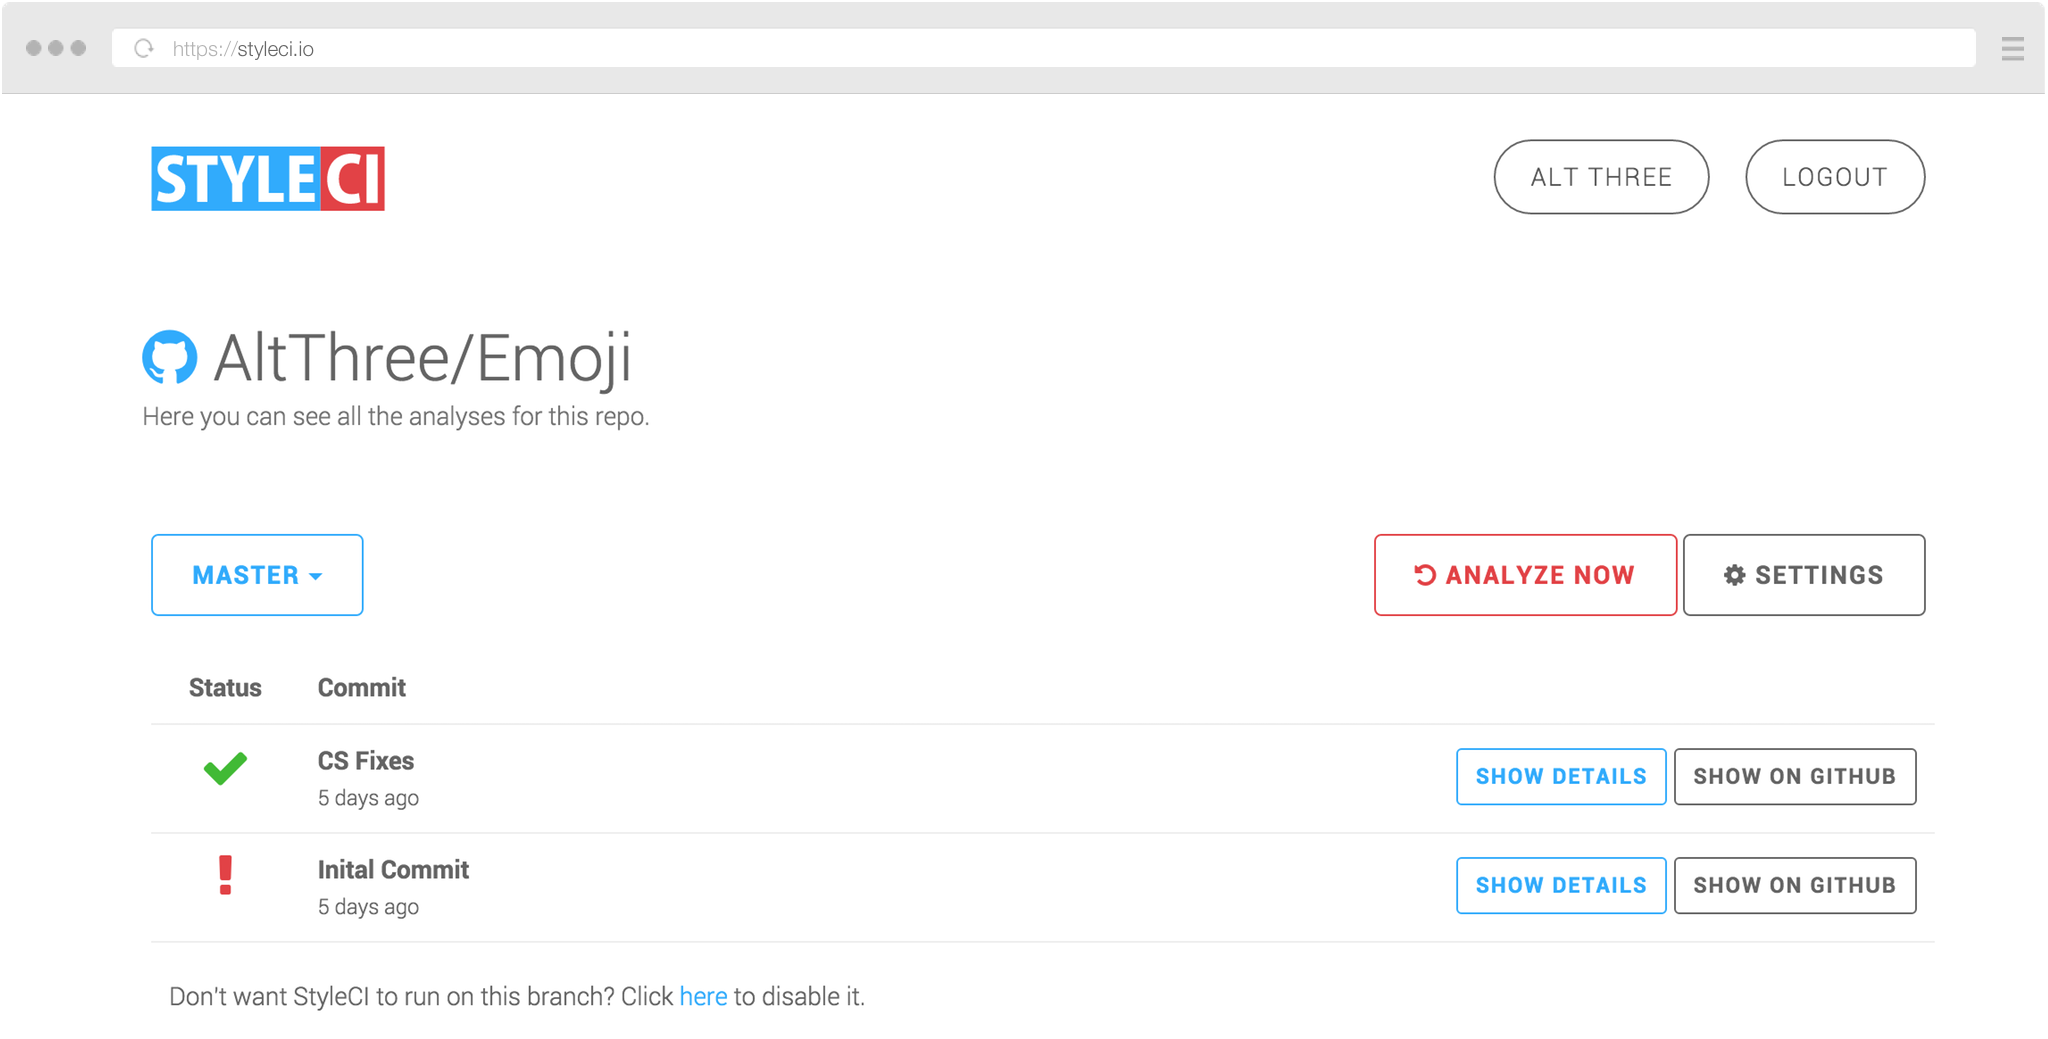
It’s very important to have a consistent coding style and proper code indentation. For OpenSource projects, it becomes even more important. There will be contributors who follow different code styles and prefer different code indentation practices. Over time it’s hard to maintain the same style throughout the code via code reviews. Tools like StyleCI can ease that pain.

You can setup StyleCI or something equivalent which supports project code language to do this. StyleCI automatically checks the Pull Requests and fix the styling issues and can open a PR to fix them.

Image for post
StyleCI

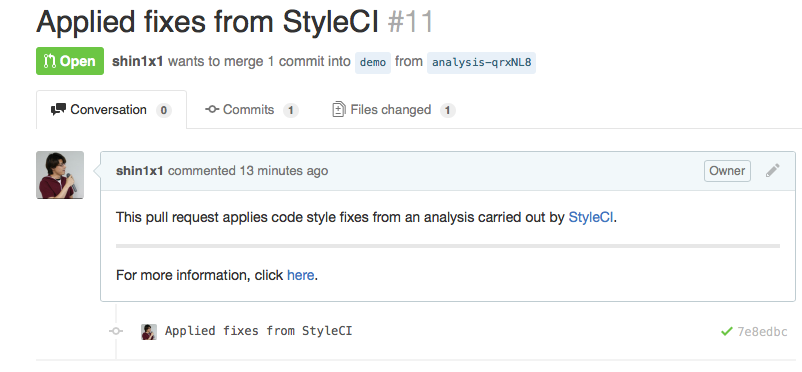
An example PR by StyleCI
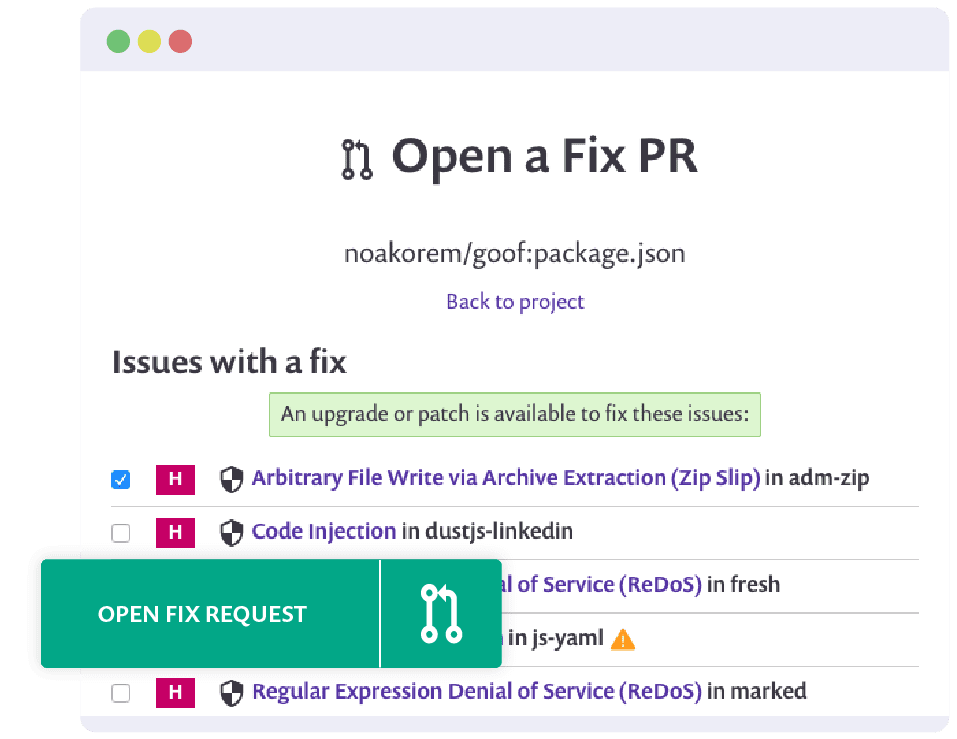
Image for post

4. Security

It’s important to automatically find, prioritize and fix vulnerabilities in the project and the open source dependencies used in the project. Snyk is awesome in that respect. Snyk offers Unlimited tests on open- source projects. Snyk can monitor the vulnerabilities and inform you. You can setup it to automate fixing with a one-click fix pull request populated with the required upgrades and patches.

Image for post
Snyk

Thanks for reading. If you have some feedback, please reach out to me on Twitter or Github.

Comments

  1. The chat choices within the video games,additionally confirm that it's a actual occasion. A actual vendor conducts the game, throws the ball into the roulette wheel, announces the start and end of the round and the numbers. When collaborating in Live Roulette in NetEnt Casinos, you'll be able to|you possibly can} observe everything up close whilst actively collaborating within the game on the roulette tables. To place your bets, you employ the betting interface which simplifies casino.edu.kg the wagering process.

    ReplyDelete
  2. Maintaining OpenSource projects is easier with free tools like Travis CI, Scrutinizer, StyleCI, and Snyk. They automate testing, code quality, styling, and security. For lean, scalable project ideas, check out micro saas startups—perfect for solo devs and small teams.

    ReplyDelete

Post a Comment

Popular posts from this blog

Visualising Your Google Location History

Step 1: Download Your Google Location History First, you need to download your location history data from Google. Follow these steps to get started: Go to Google Takeout : Visit Google Takeout to begin the process. Select Location History (Timeline) : Make sure to select the “Location History (Timeline)” option. 3. Export Your Data : Google will compile your data, which might take some time. You will receive an email once your data is ready to be downloaded. 4. Download the Data : Follow the instructions in the email to download your data. Step 2: Extract the Downloaded File Once you’ve downloaded your data, locate the file and extract it. The location data will be in a JSON file at the following path: takeout-202XXXXXTXXXXXXZ-001/Takout/Location History (Timeline)/Records.json Step 3: Convert JSON to CSV To make the location data usable, we need to convert it from JSON to CSV format. Although you can convert it to KML or geoJSON formats, we’ll focus on CSV for this post. 1.  Clon...

How to mine pancake swap using your Laptop/Desktop

In this post, we will talk about how you can mine pancake swap using your laptop or desktop. What is pancake swap you ask? Pancakeswap is a decentralizaed DEX where you can Trade, earn, and win crypto on the most popular decentralized platform in the galaxy, you can Trade any token on Binance Smart Chain in seconds and you can earn passive income with your CAKE tokens. You can read more about it from  https://pancakeswap.finance/ Get Started! Step I: Getting a crypto wallet You can start with  Metamask  as a crypto wallet. Go ahead and download the Metamask as a chrome extension. Download Link:  https://metamask.io/download.html Once installed let's set up the Metamask account. Metamask Get Started Screen Click on  Get Started  button, and you should see the following screen. Metamask create wallet screen Click on  Create a Wallet  button. Metamask I Agree Screen Click on  I Agree  button. Metamask create password Provide a strong passwo...

Unleashing the Power of Personal Photo Management with PhotoPrism

As an avid photographer and a lover of memories, I've always struggled with managing and organizing my ever-growing collection of digital photos. It was a constant battle to find specific photos, especially as I often forget to tag or rename them. That's when I stumbled upon PhotoPrism , a powerful open-source photo management tool that has revolutionized the way I interact with my photo library. In this blog post, I'll guide you through the process of installing and using PhotoPrism, sharing my personal use cases along the way. Whether you're a professional photographer, a hobbyist, or simply someone passionate about preserving memories, PhotoPrism is a game-changer. Getting Started To start our journey with PhotoPrism, the first step is to install it. Head over to the official repository on GitHub and follow the installation instructions provided there. Don't worry, the installation process is well-documented and straightforward, making it accessible even for no...