
Visualizing npm package dependencies

Sometimes we want to see the dependency tree of a package. A tiny single npm package may be dependent on several other npm packages.

While looking for solutions to see these dependencies, I came across a beautiful website which gives a visualization of the dependent packages.

home page

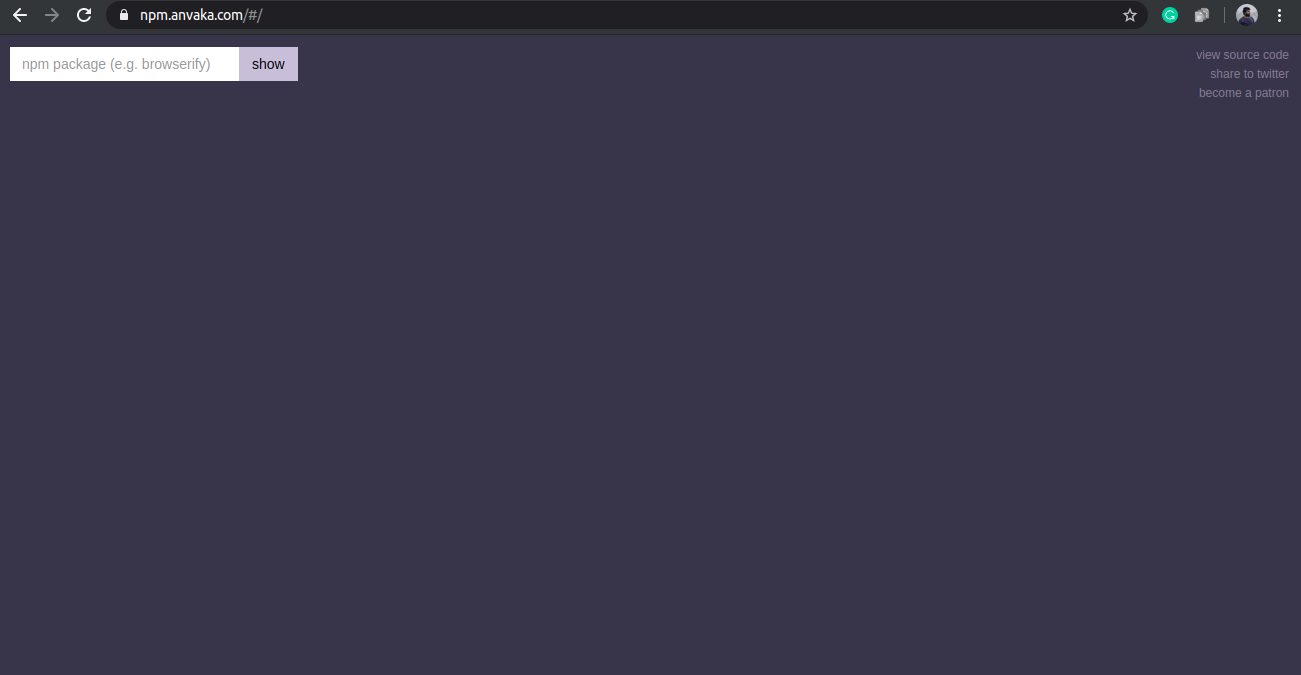
In the search bar, you need to enter the npm module for which you want to see the dependencies. Let’s see for the express.

Start typing in the search bar and it will prompt the results.

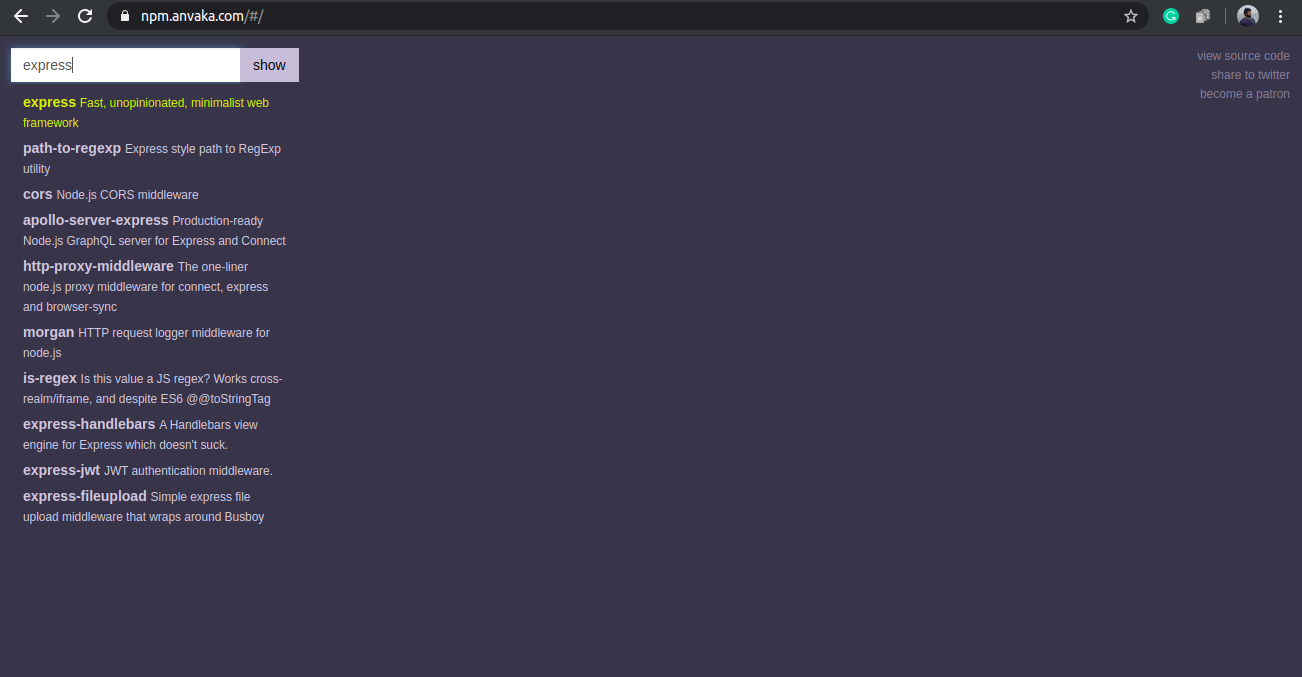
Now select the express from the results that are shown, and it will start visualizing the dependencies.

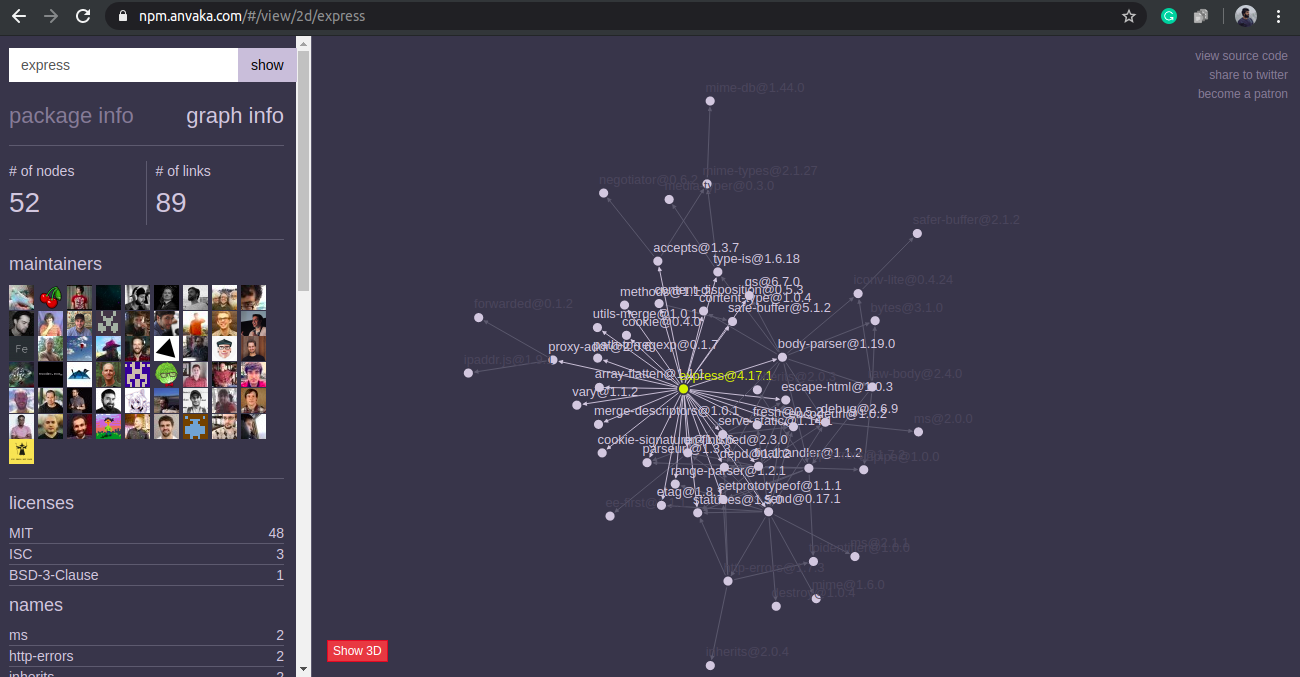
This is 2d visualization along with other information on the left-hand side.

You can also see the 3d visualization by clicking on the Show 3D button.

Thanks for reading. If you have some feedback, please provide your response or reach out to me on Twitter or Github.

Happy Coding!!! 

Comments

Popular posts from this blog

Track stock market information right in your Terminal.

     Introduction: As a developer, I love working with the terminal. The plain, simple, and in my opinion the best way to interact with the computer (also it makes you look geeky). I spent most of my time in the terminal. By now you must have guessed I am a huge fan of the terminal and terminal-based applications. Recently I developed an interest in stock markets and started tracking the stock markets. Since I love working with the terminal I decided to build a terminal oriented application that can help me to track the stock market. Inspir e d by  wttr.in  I build  terminal-stocks  which can provide the stock's current prices, historical prices, and global market summary. How to use terminal-stocks terminal-stocks  is available and can be used without installation. Get the current price of the stock. curl terminal-stocks.dev/ITC.NS Current price of stocks You need to provide the ticker of the stock and terminal-stocks will give you the price information of the stock.  terminal-st

Setting up Nginx as a reverse proxy for Node.js App

Okay.. but what is a reverse proxy? A reverse proxy is a web server that centralizes internal services and provides unified interfaces to the public. Requests from clients are forwarded to a server that can fulfill it before the reverse proxy returns the server’s response to the client. Nginx is a popular choice to use as a reverse proxy for your node.js application. Got it. Now let’s set up Nginx Let’s say your nodejs server is running locally on localhost:3000. We will set up Nginx to get the request and forward the request to our nodejs server. Ins t alling Nginx on ubuntu sudo apt-get update sudo apt-get install nginx Configure Nginx Disable the default, virtual host unlink /etc/nginx/sites-enabled/default 2. Create a configuration file cd /etc/nginx/sites-available sudo nano reverse-proxy.conf 3. Put the following content in the file server { listen 80; listen [::]:80; access_log /var/log/nginx/reverse-access.log; error_log /var/log/nginx/reverse-e

PrivateGPT: A Step-by-Step Guide to Installation and Use

In this blog post, we will explore the ins and outs of PrivateGPT, from installation steps to its versatile use cases and best practices for unleashing its full potential. What is PrivateGPT? PrivateGPT is a cutting-edge program that utilizes a pre-trained GPT (Generative Pre-trained Transformer) model to generate high-quality and customizable text. Built on OpenAI's GPT architecture, PrivateGPT introduces additional privacy measures by enabling you to use your own hardware and data. This ensures that your content creation process remains secure and private. Installation Steps Before we dive into the powerful features of PrivateGPT, let's go through the quick installation process. PrivateGPT is a command line tool that requires familiarity with terminal commands. Let's get started: 1. Clone the Repository: Begin by cloning the PrivateGPT repository from GitHub using the following command: ``` git clone https://github.com/imartinez/privateGPT.git ``` 2.Navigate to the Direc