What we are gonna do?
We will be creating a web app. A user can find gifs based on the word. To implement this we will be creating a backend service using Node.js, Express, and frontend using React. We will use Github for Source Code Management and finally we will deploy our project to AWS. We will also set up a pipeline for CI/CD (Continuous Integration and Continous Deployment).
Setup the development environment
This part you have to do on your own.
- Install node and npm
- Install your favorite IDE (atom is good enough)
- Install git
Fun part. Start coding.
Fire up the terminal if using ubuntu hit alt+ctrl+t.
Create a new directory for the project.
- mkdir giffer <or some other cool name>
- cd giffer
- run npm init
- Give the required information

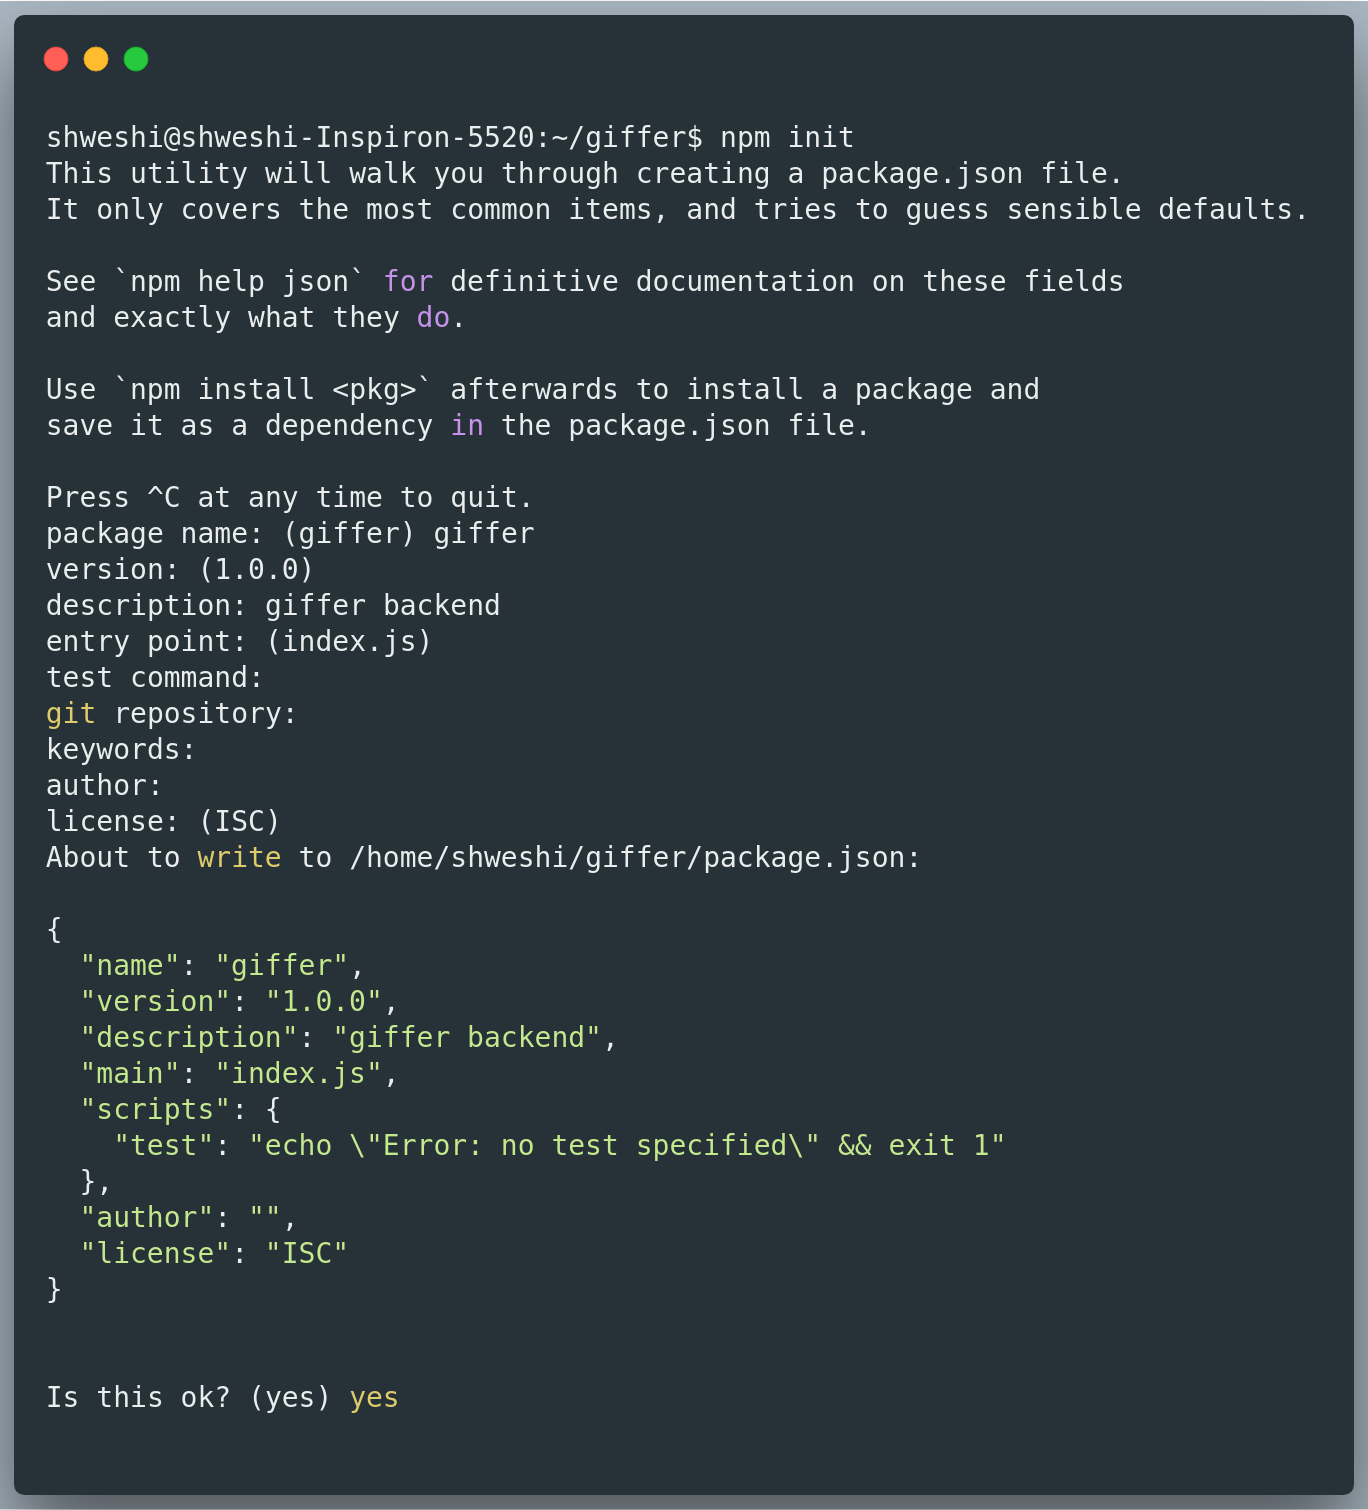
Voila, npm will create a new package.json file.
Now let’s start writing code. We will use express for creating the backend server. Discussion about express is out of the scope for this post. Let’s pull express as a dependency from npm.

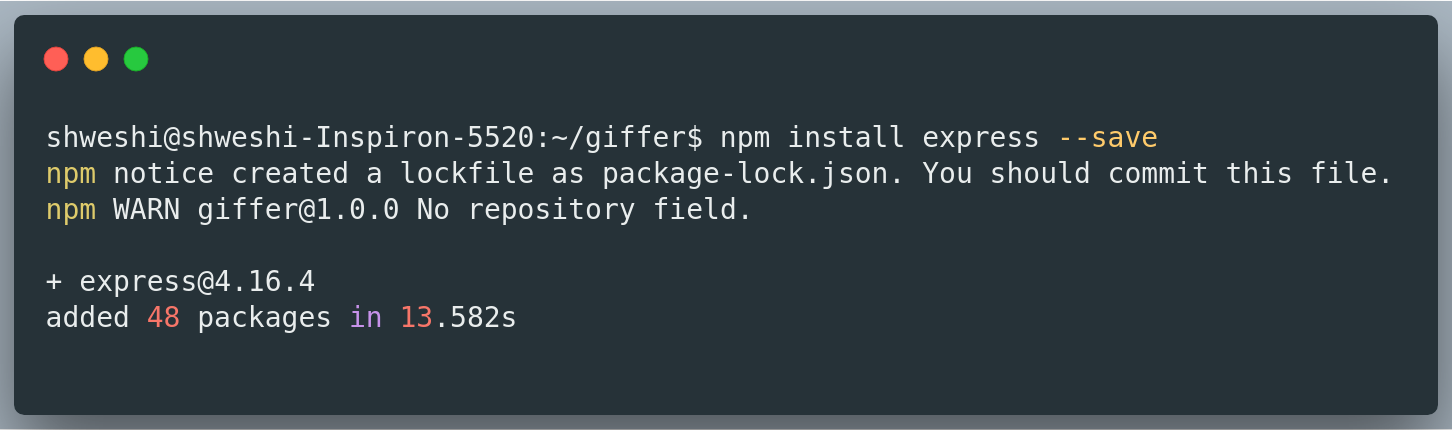
npm will create a new package-lock.json file and node_modules directory.
Server
Writing and running the express server is pretty easy. Simply create a new file index.js and paste the below code.
var express = require('express');
var app = express();app.get('/', function (req, res) {
  res.send('Hello World!');
});app.listen(3000, function () {
  console.log('Server is up and runnig on port 3000!');
});
Now let’s test our server. Run node index.js and visit http://localhost:3000/ to check your server in action.
Integrating with Giphy API
To integrate with Giphy we need GIPHY’s API. Go and create a new app in GIPHY and obtain the API key.
To make an API call to GIPHY API we need another npm package request and request-promise.
Run npm install request — save and npm install request-promise — save.
Once done. Let’s create a new API /gif. Update your code with the following snippet.
var express = require("express");
var app = express();
var request = require("request");
var rp = require("request-promise");app.get("/", function(req, res) {
  res.send("Hello World!");
});app.get("/gif", async function(req, res, next) {
  const options = {
    uri: "https://api.giphy.com/v1/gifs/search",
    method: "GET",
    qs: {
      api_key: "<API_KEY>",
      q: req.query.search,
      limit: 3,
      offset: 0,
      rating: "G",
      lang: "en"
    }
  };const response = await rp(options);
  res.json(response);
});app.listen(3000, function() {
  console.log("Server is up and running on port 3000!");
});
Now restart the server. And the endpoint
http://localhost:3000/gif?search=shashi
And you can see the returns response from GIPHY’s search API. Now our backend is ready to deploy.
Deployment (Not a rocket science)
Prerequisites
- Github repository (Go and create one now can create private repository)
- AWS account (Go and create)
All set?
Github
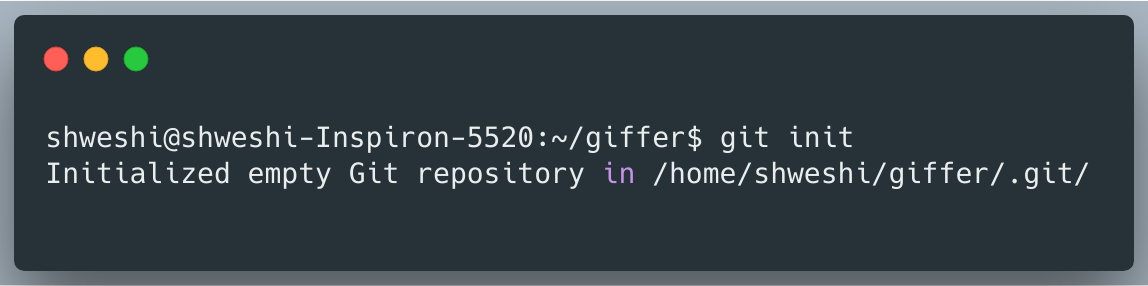
Let's initialize the repository, run git init.

Create a new file .gitignore and paste the following content.
node_modules
Now run some more git commands:
git status
git add .
git commit -m “awesome commit message”
git remote add origin <YOUR_GITHUB_REPOSITORY_URL>
git push origin -u master
Provide your username and password.
At this point, you have successfully pushed your code to GitHub.
AWS Server
Login to your AWS console.

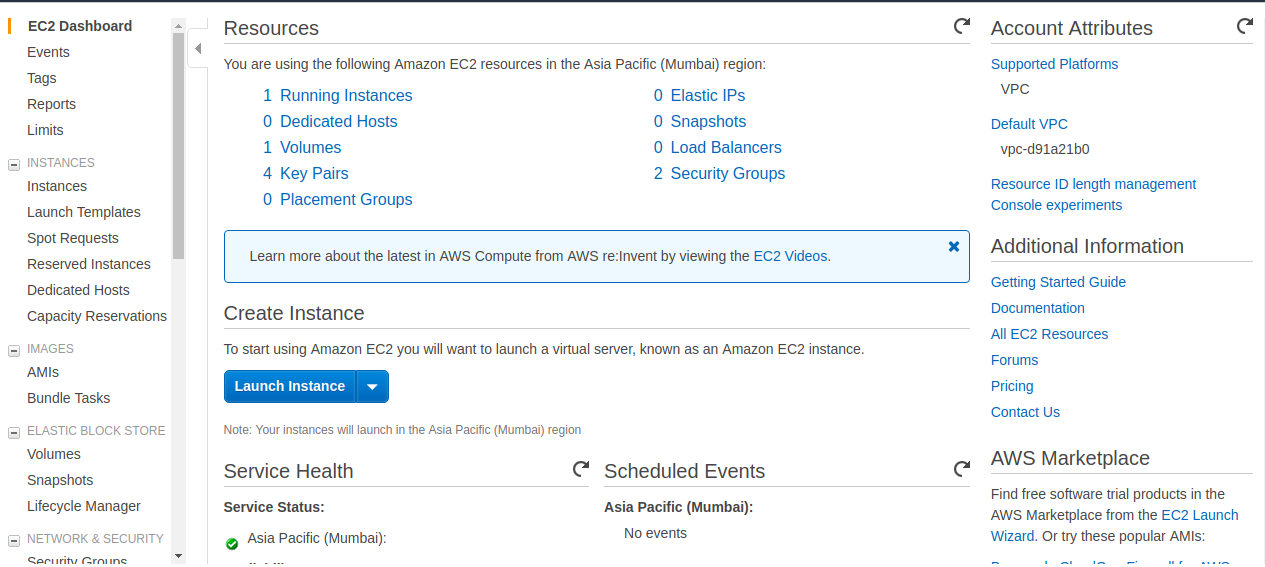
Click on the Launch Instance button.

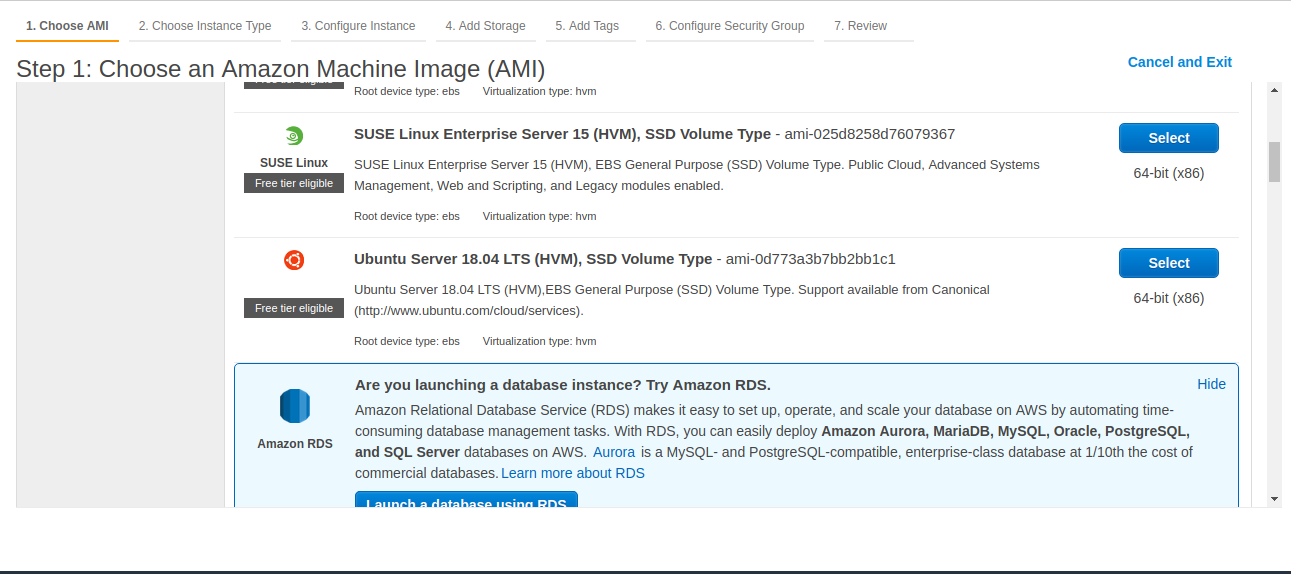
Scroll down and click on the Select button for Ubuntu Server.

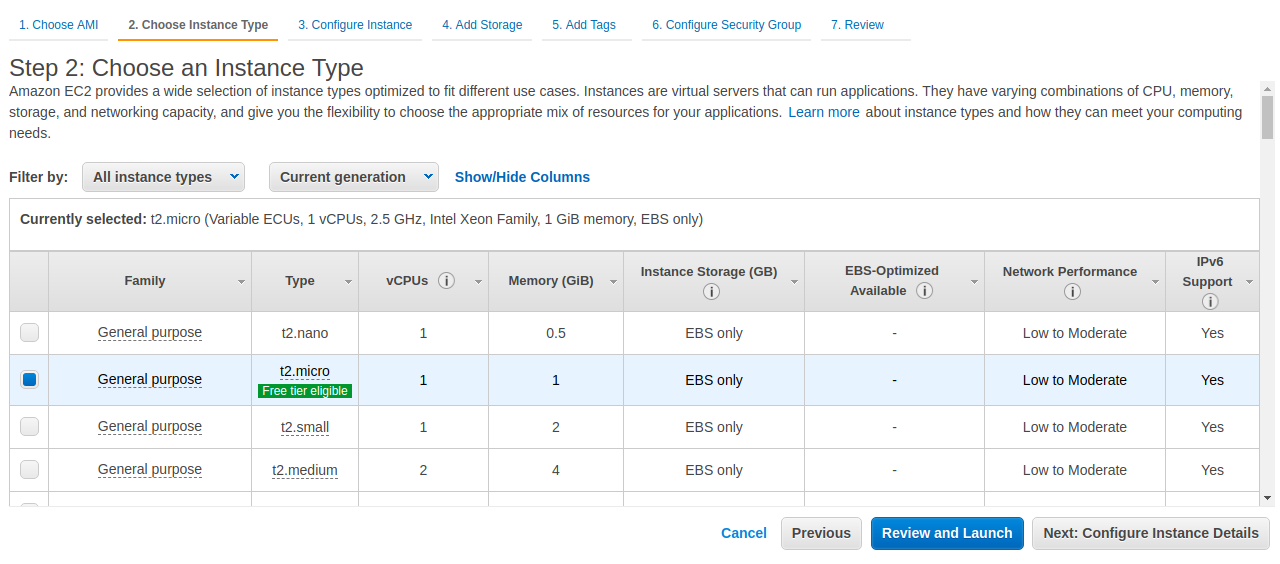
Go ahead with the auto-selected t2.micro instance. Click on the Review and Launch button.

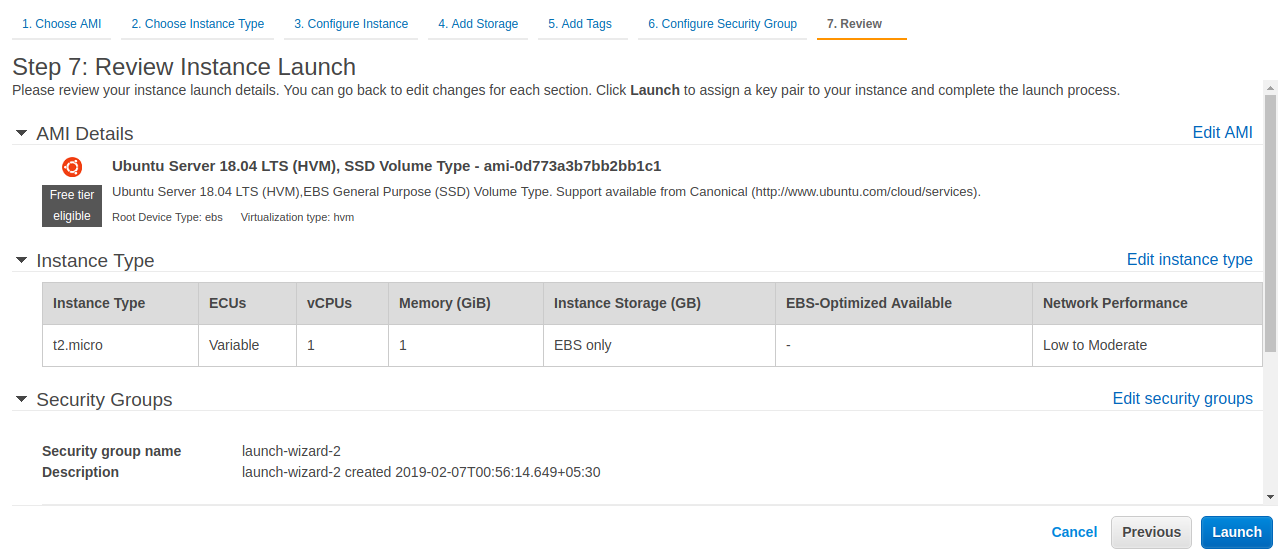
3, 2, 1, and click on the Launch button.

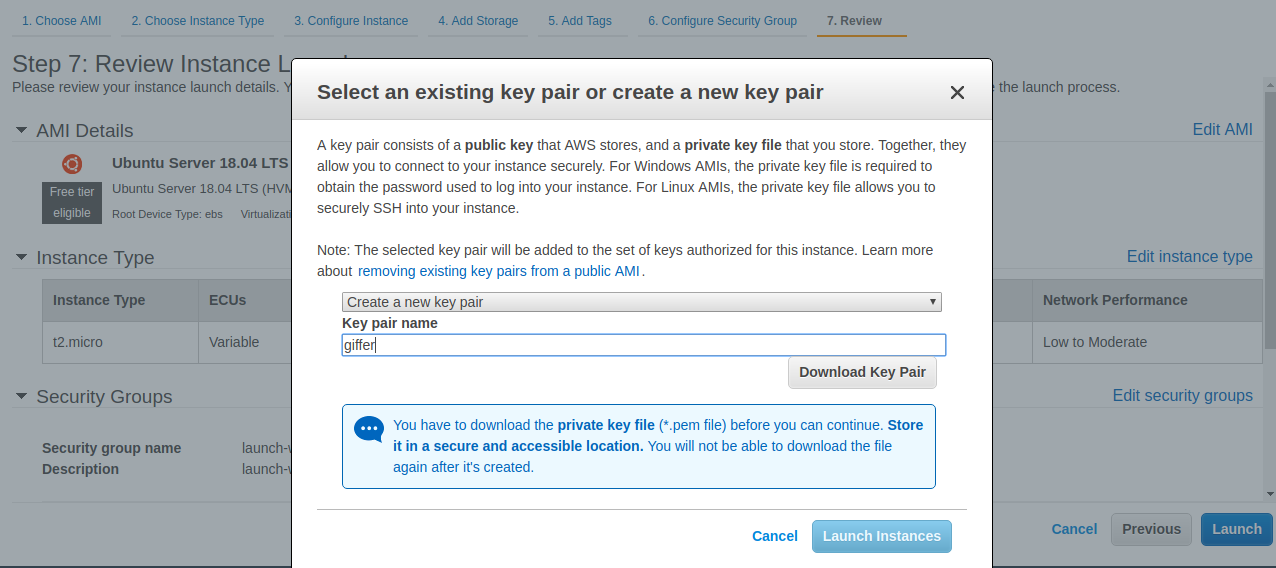
Choose “Create a new key pair” from the dropdown menu. Input the name. And download the key. It will download a .pem file.
KEEP THIS KEY FILE SAFE AND DON’T LOOSE IT. YOU WON’T BE ABLE TO DOWNLOAD IT LATER.

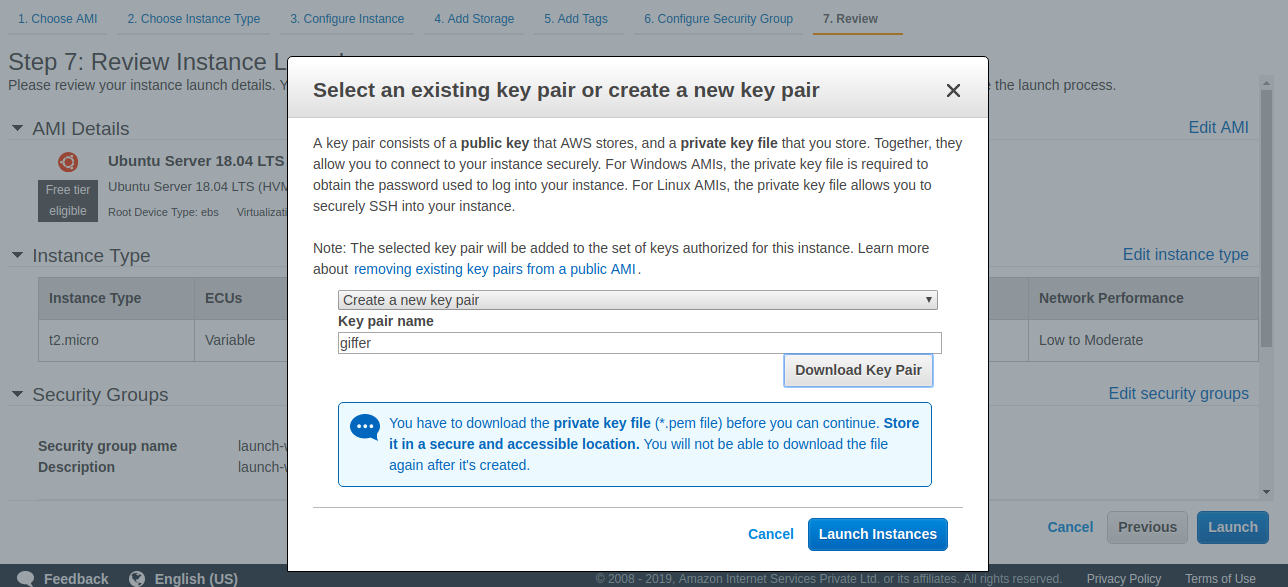
Once you have downloaded the file. The Launch Instance button will be activated. Click on the Launch Instance button to launch a new instance.

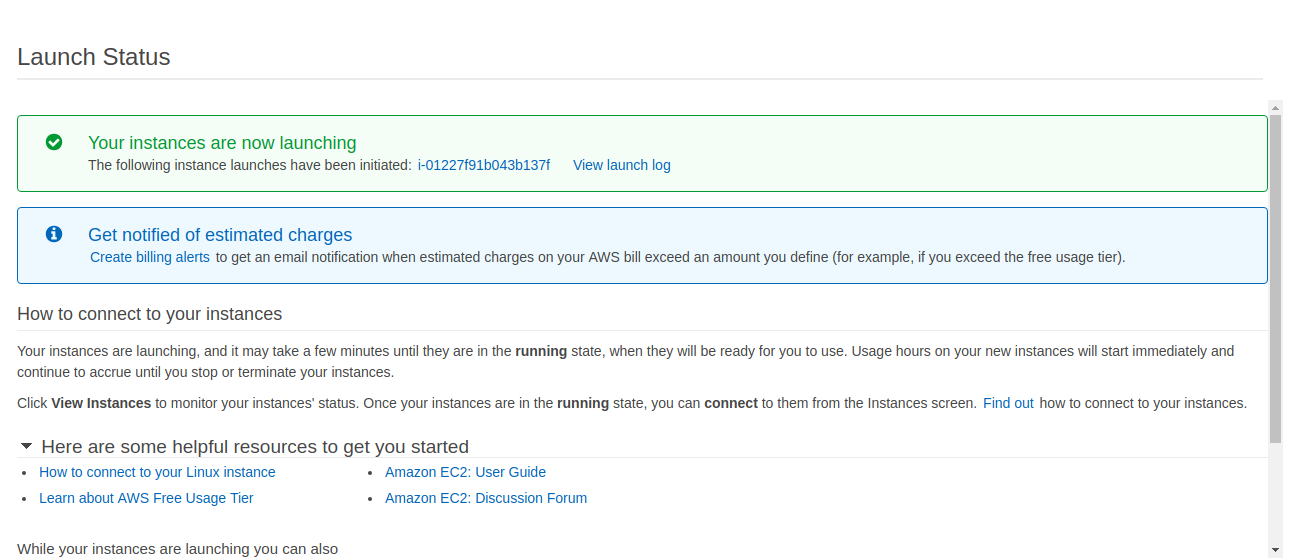
Awesome we have just launched a new AWS EC2 instance.
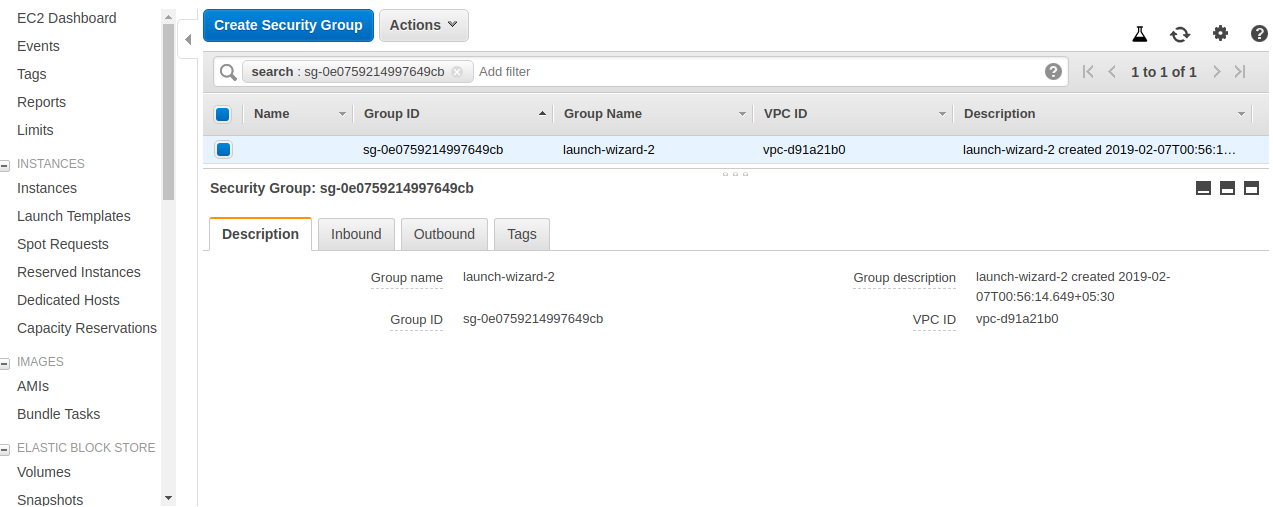
Navigate to Services -> EC2 to view the instance.

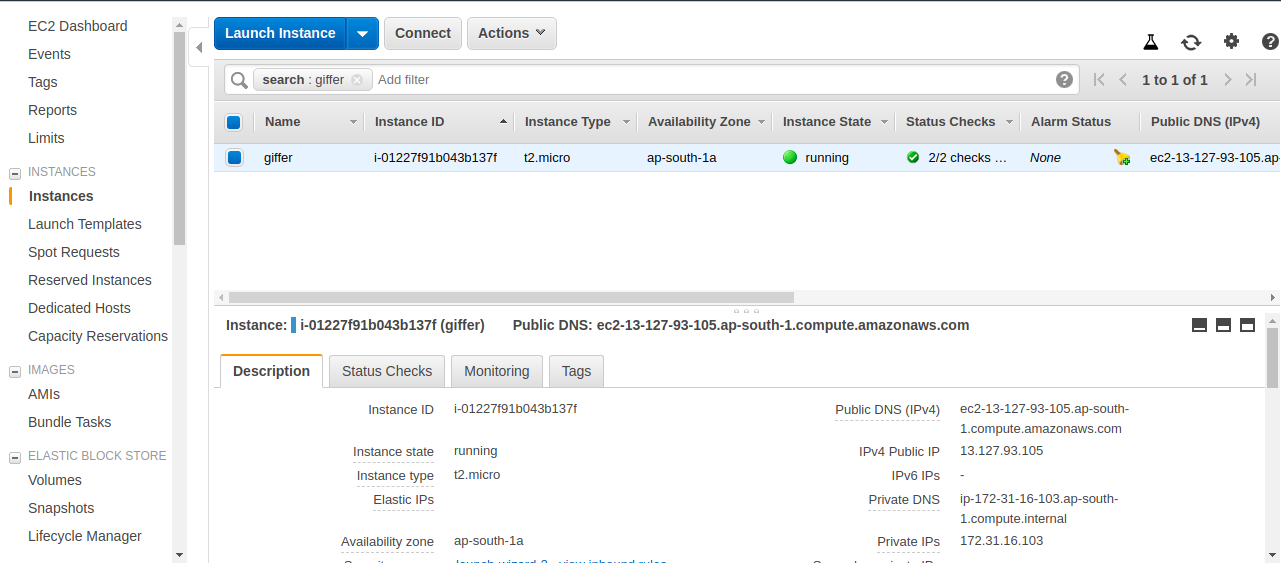
Well done.
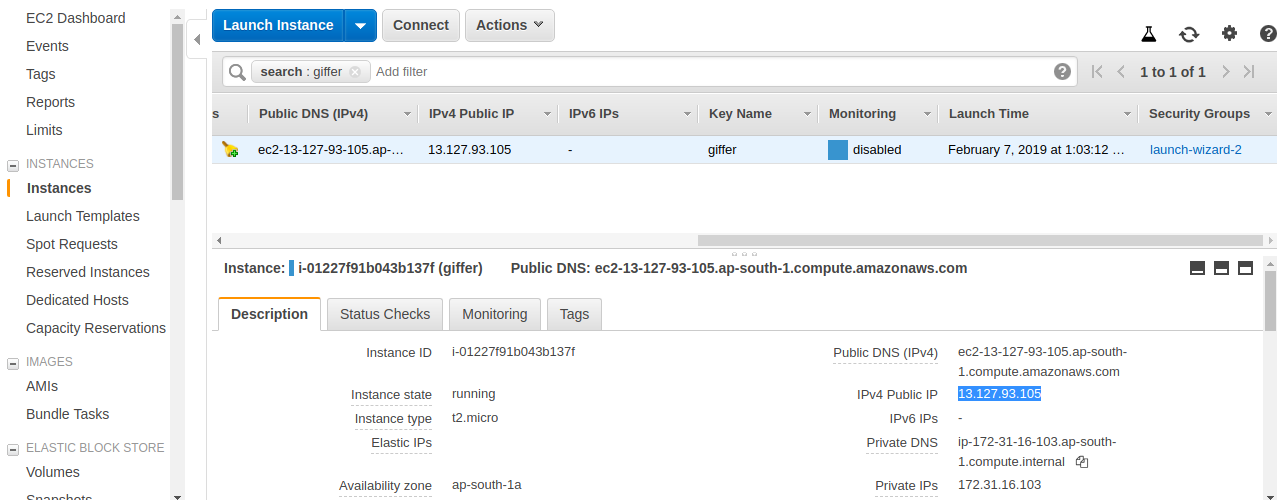
Now scroll to the right side and click on launch wizard.


Click on the Inbound tab on the down.

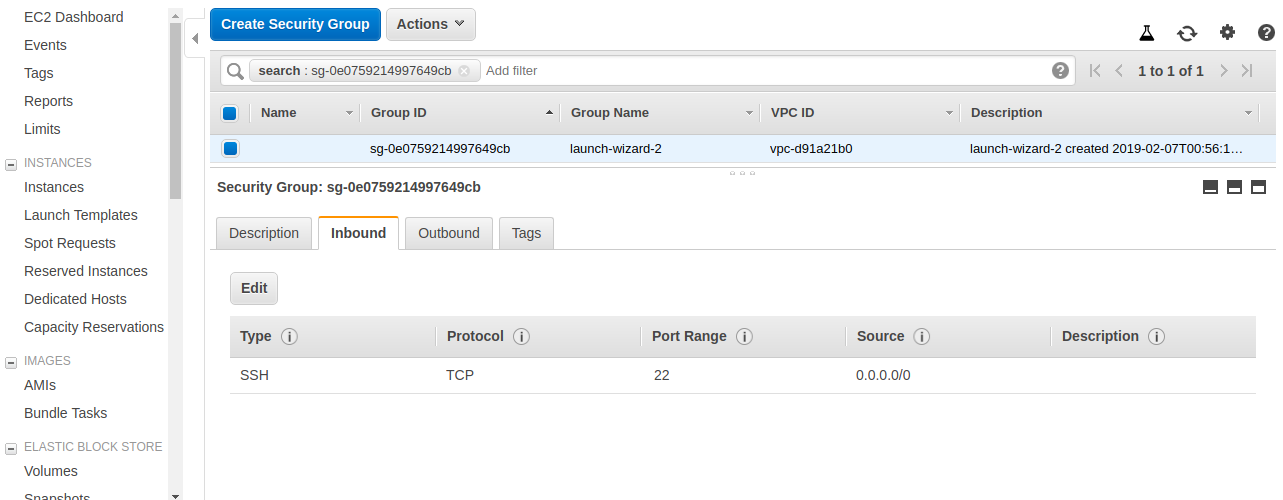
Click on Edit


Click on Add Rule

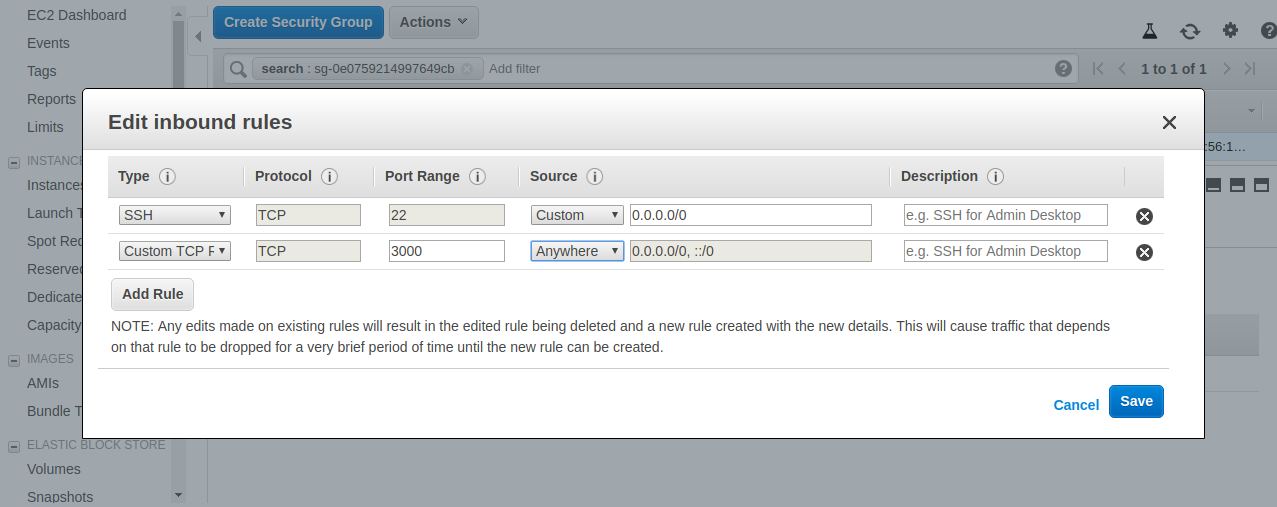
Give Port Range as 3000 and select Source as anywhere and Save. This will allow our incoming traffic on our server on port 3000 from anywhere over TCP protocol.
Well done.
Now let's deploy our backend service on the EC2 instance. For now, we will do it manually.
Select your instance and click on connect. You will see instructions on how to connect to the EC2 server.

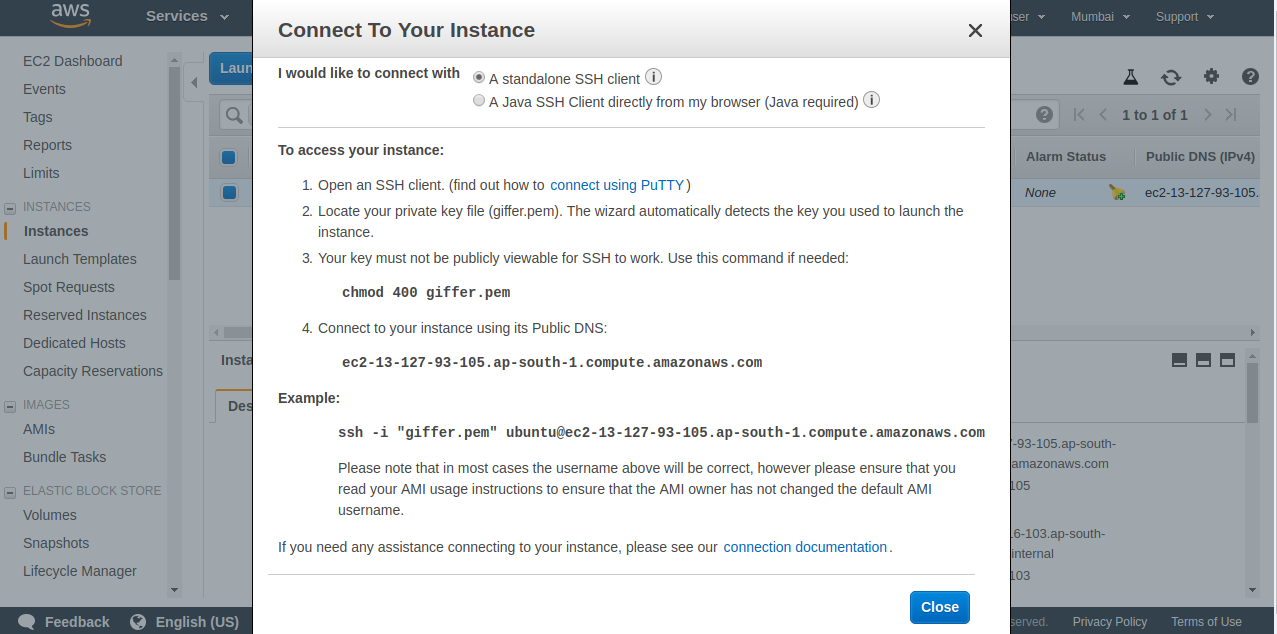
Give the 400 permission to your .pem file.
sudo chmod 400 <KEY>.pem
Now we are ready to connect with our server using SSH. Execute the following command.
ssh -i <KEY>.pem ubuntu@ec2–13–127–93–105.ap-south-1.compute.amazonaws.com


if prompted write yes and enter. You will be connected to your EC2 instance.

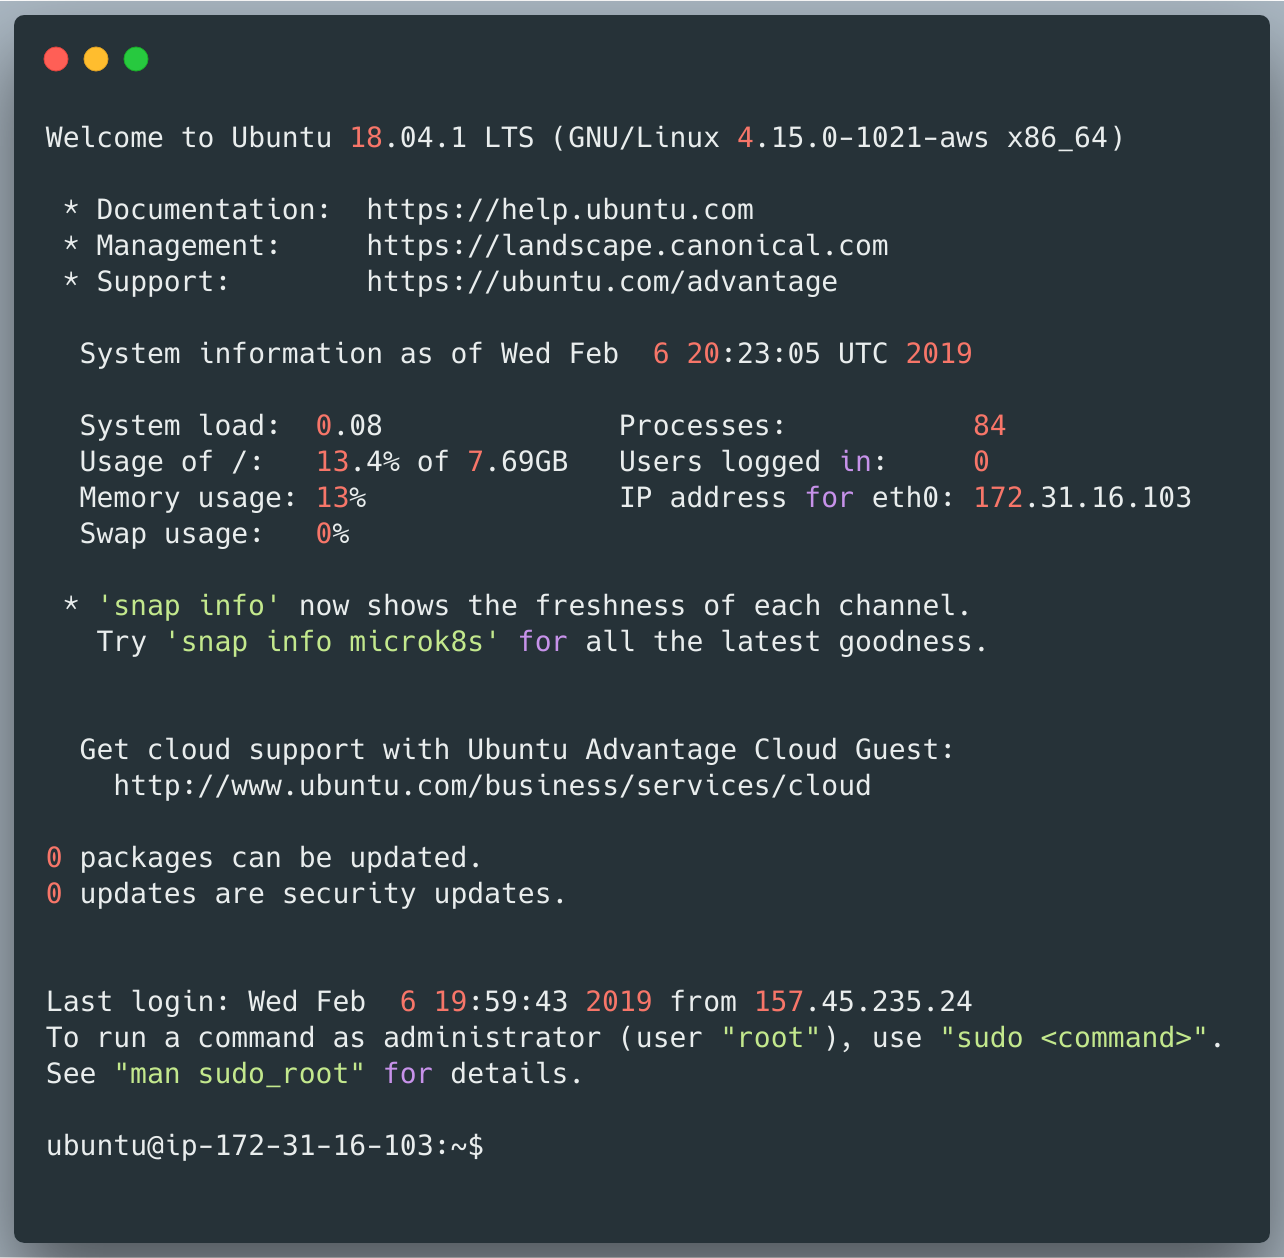
Setting up the server.
Let’s set up our server to host our application.
sudo apt-get update
Install Node.js and npm.
sudo apt-get install nodejs
sudo apt-get install npm
Clone your repository.
git clone <YOUR_REPOSITORY_URL>
cd <PROJECT>
Install npm dependencies
npm install
Start the server
node index.js
Now go to <YOUR_EC2_PUBLIC_IP>:3000/gif
Woah you have deployed your application on the server.
Next, we have to do some more things.
- Using a process manager pm2 to run our server. Because the node index.js process will be terminated as soon as you close the connection with EC2.
2. Setup CI/CD pipeline for automatic deployment of our application.
Thanks for reading. If you have some feedback, please provide your response or reach out to me on Twitter or Github.
Comments
Post a Comment